
A SIMPLE STEP-BY-STEP ESIM INSTALLATION GUIDE FOR USA TRAVEL
A Simple Step-by-Step eSIM Installation Guide for USA Travel
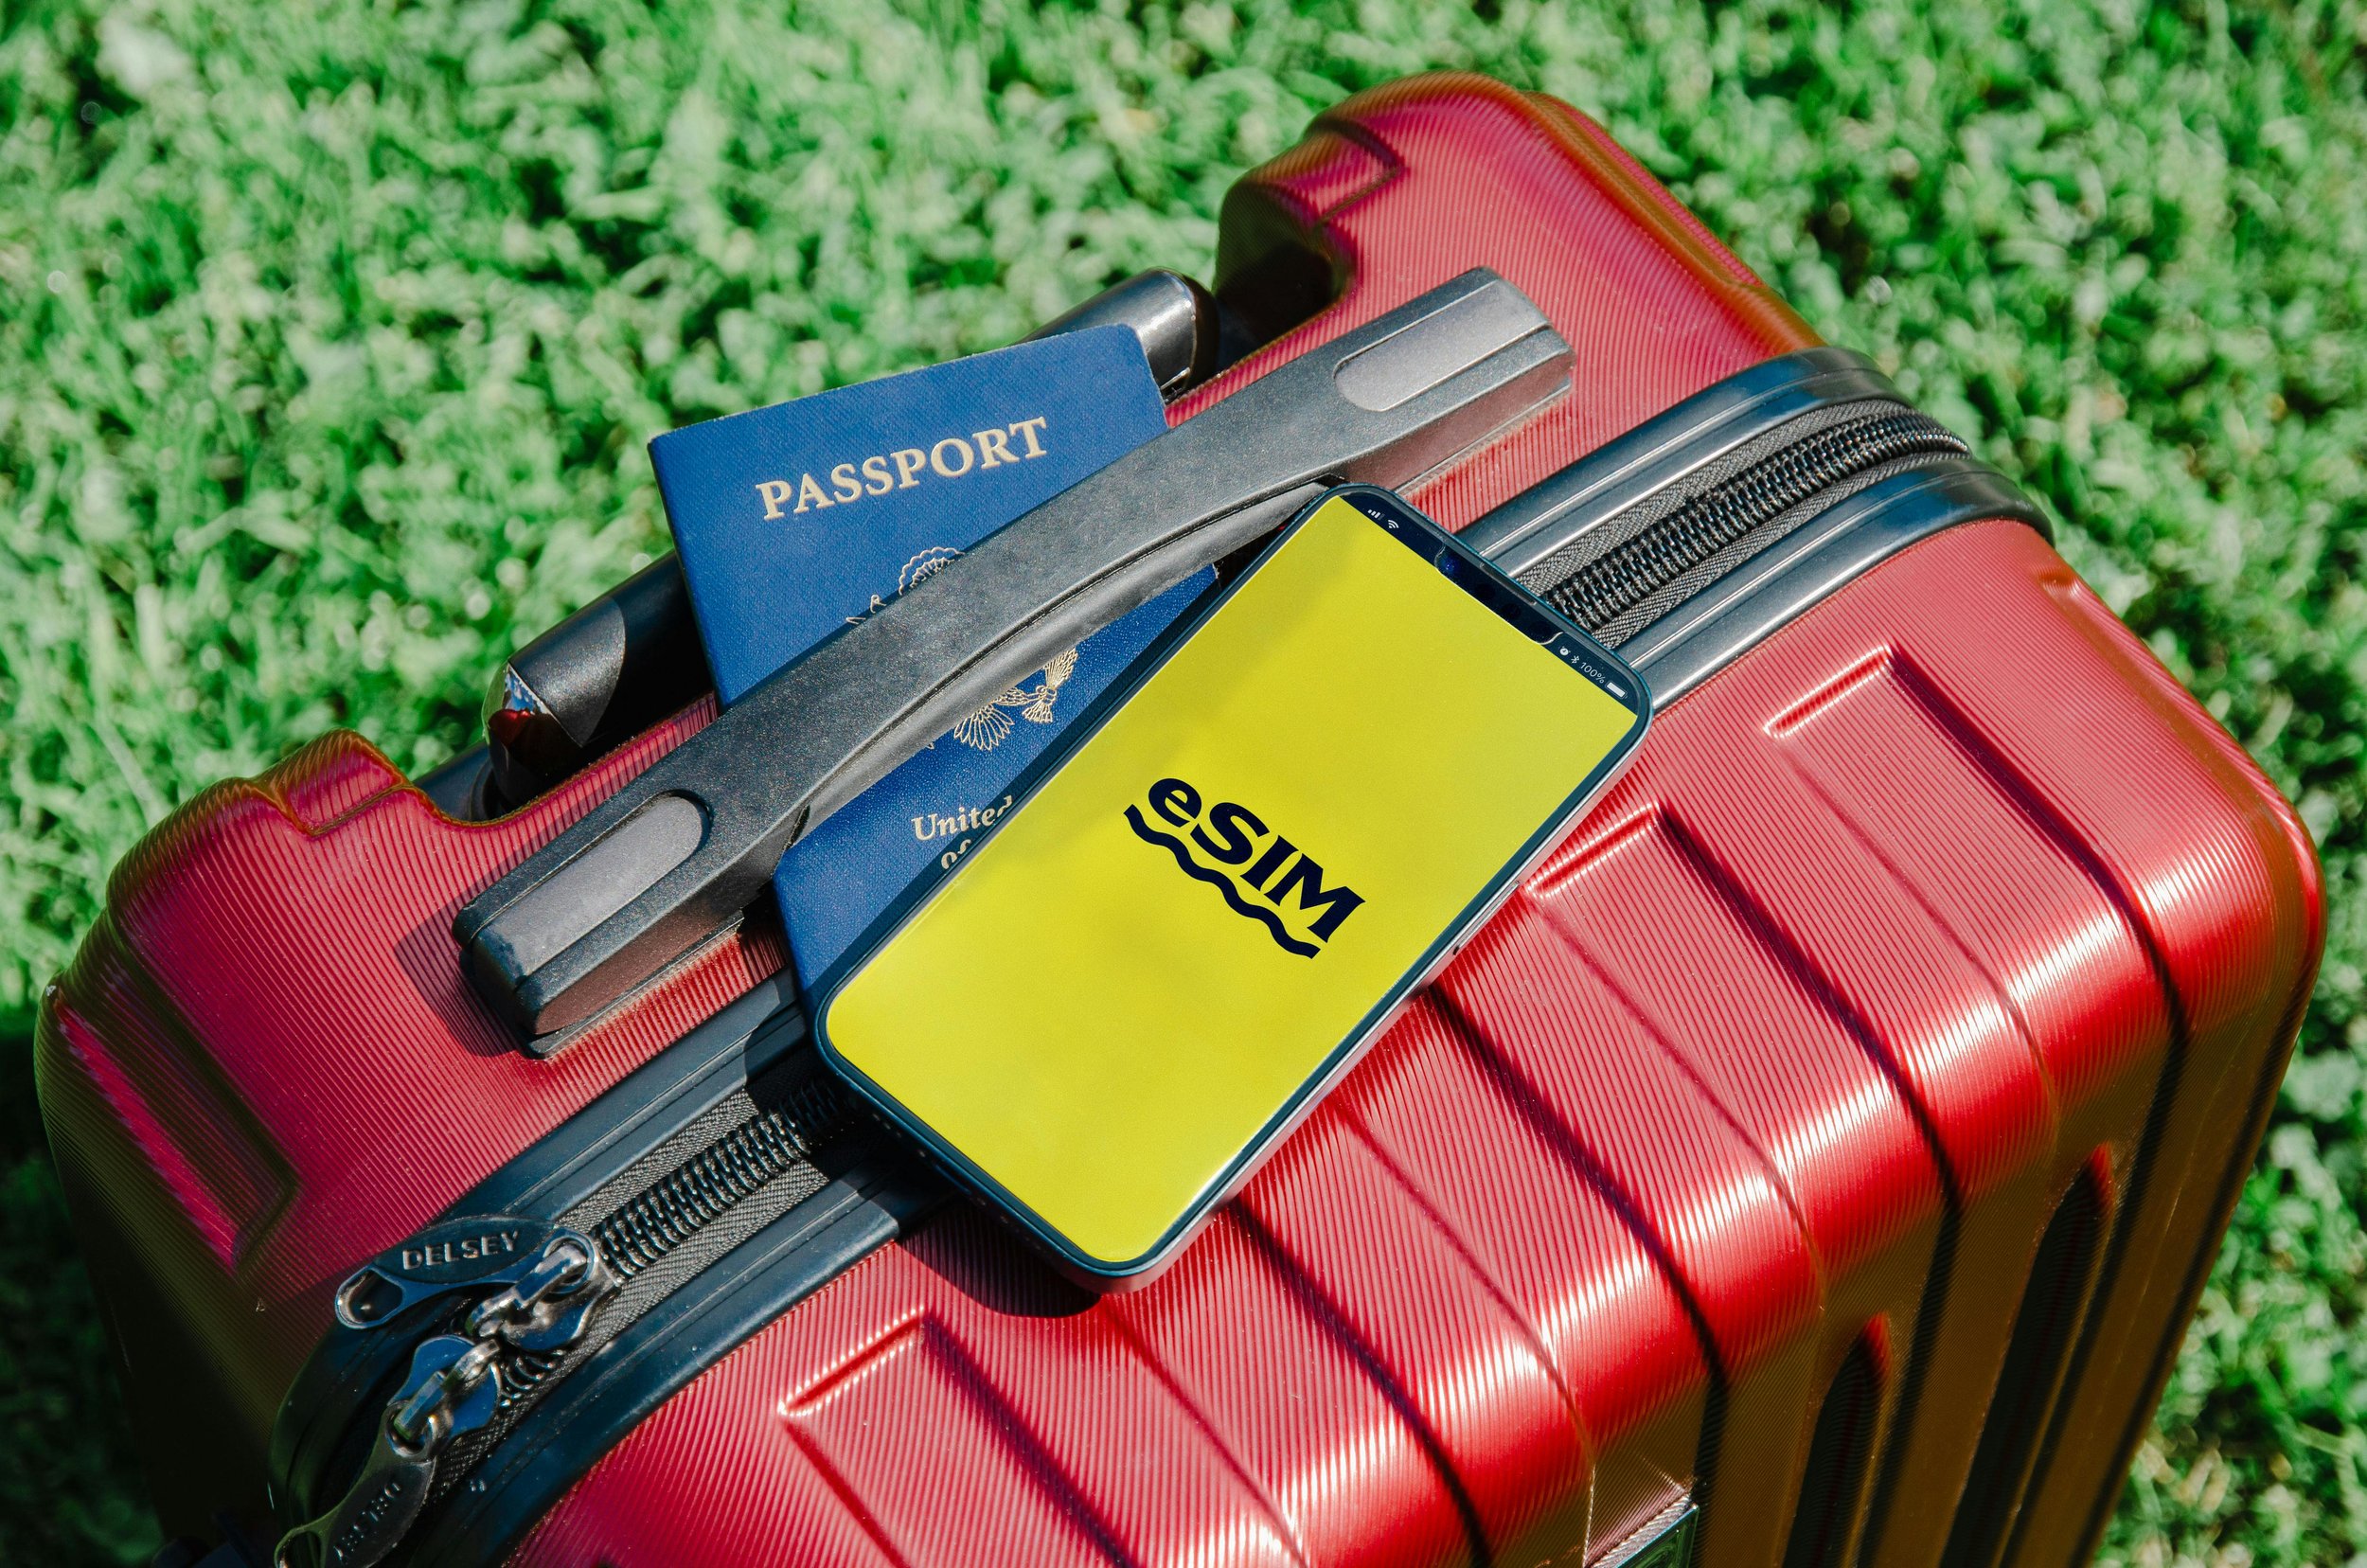
Travel to the USA demands reliable mobile data, and the eSIM has become a practical solution for independent travelers who need seamless connectivity from the moment they land. An eSIM, or embedded SIM, is a digital SIM that eliminates the need to purchase or swap a physical card at the destination. Travelers headed to major cities such as New York City, San Francisco, and Los Angeles can benefit from strong local network coverage when the eSIM is set up correctly before departure. This article provides a clear, accurate guide to eSIM installation, activation, and connection for anyone planning a trip to the USA.
Step 1: Install Your eSIM
A USA eSIM is delivered digitally, which means installation requires no physical SIM card and no trip to a local store. To begin, scan the QR code provided at the time of purchase; this code contains all the necessary profile data for the eSIM to be added to the device. A stable internet connection is required throughout this process, so complete the installation over Wi-Fi before departure. Once the scan is complete and the profile downloads, the eSIM will appear as a separate line in the phone's cellular settings. The entire installation process typically takes under five minutes and can be done at home, at a hotel, or at any location with a reliable Wi-Fi connection.
Step 2: Start Your eSIM
After installation, the eSIM does not activate immediately, and that is intentional. The plan will start automatically once the device connects to the destination network in the USA, which means the validity period only begins when it is genuinely needed.
Purchase of the plan must be followed by activation within 60 days, so travelers who buy an eSIM in advance have a reasonable window before the countdown begins. This design gives travelers full control over when their data plan becomes active, which is a practical advantage for those with flexible travel schedules.
Step 3: Connect at Destination
Once the traveler arrives in the USA, the connection setup takes only a few seconds through the phone's settings menu. The following steps cover the exact process for enabling the eSIM line and confirming that data is routed correctly through it.
Go to Settings > Cellular and turn the eSIM line on to make the profile active on the device.
Confirm that data roaming is enabled and that the eSIM line is selected as the source for cellular data.
The eSIM will automatically connect to the best available local network without any manual network selection required.
Step 4: Check Phone Compatibility Before Travel
Before purchasing an eSIM, verifying that the device supports eSIM technology is an essential step. The following points cover the most common compatibility requirements travelers should confirm before departure:
The device must be eSIM-compatible; check the manufacturer's specifications or the phone's settings to confirm eSIM support is available.
The phone must be unlocked, meaning it must not be locked to a specific carrier that would block external eSIM profiles.
The operating system should be up to date, as older software versions can interfere with eSIM profile downloads and cellular configuration.
Some phones have a limit on the number of eSIM profiles that can be stored, so removing unused profiles before travel can prevent installation errors.
Step 5: Network Connection After Arrival
Upon landing in the USA, the eSIM-equipped device will search for available local networks and connect automatically to the strongest signal. In high-traffic cities such as Los Angeles and San Francisco, network availability is generally strong across major carriers, and the eSIM selects the best option without any manual input from the traveler.
The device may take a moment to establish the connection after powering on or switching off airplane mode, which is normal behavior. Restarting the phone after landing is a reliable way to prompt a fresh network search if the connection does not establish within a few minutes.
Step 6: Data Settings and Roaming Setup
Correct data settings are necessary for the USA eSIM to function properly on a dual-SIM device, particularly when a local home SIM is still active in the primary slot. If data roaming remains disabled or the home SIM is still set as the default data source, the eSIM will not carry data traffic even though it appears active in the settings.
Travelers should navigate to the cellular data settings and explicitly set the eSIM as the preferred data line after enabling roaming. On devices with multiple SIM options, the settings menu will display each line separately, making it straightforward to assign data priority to the correct profile. Confirming these settings before leaving the airport or upon first connecting to a local network avoids any unexpected data interruptions during the trip.
Proper setup before departure helps avoid delays after arrival in the USA. Correct installation, activation timing, and data settings support stable mobile connectivity during travel. Independent travelers should review compatibility, activation timing, and network settings to ensure reliable mobile data access throughout the trip.